Archive | DIY RSS feed for this section

Creative Jewelry Holders

5 Jan

I finally found someone who loves necklaces more than me: my kitten! Every night around 3am, I wake up to find her pawing at the necklaces hanging on the stand on my dresser. Mitts off the jewels, Bandit!

Must. Outsmart. This kitten.

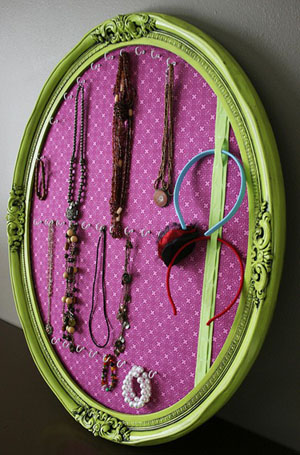
It was time to come up with a new way to store my jewelry. A traditional jewelry box or dresser drawer would hide my collection and result in tangled chains. So I decided to turn my necklaces into wall art. Ta da!
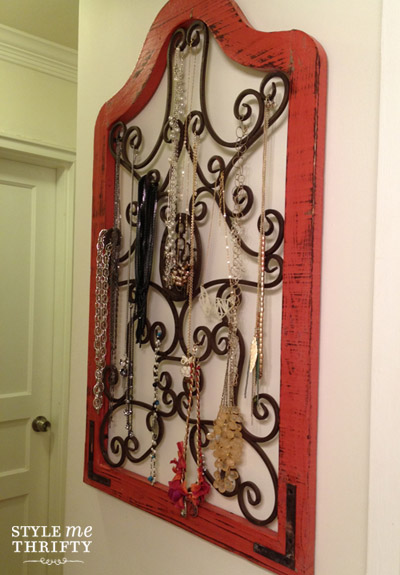
Style Me Thrifty jewelry holder

I spied this lovely coral wooden frame at Home Goods for $24.99. Such a steal! The curled iron inside the frame serves as the perfect hooks for my necklaces. With the help of my muscles (ie, the bf), we hung this in the hallway, just outside my bathroom. Now every time I walk by, I smile. And it’s kitten-proof!

If you’re in need of more jewelry holder inspiration, here are a few more creative ideas that I’ve collected from my friends, fellow bloggers, and Pinterest. Which one is your favorite?
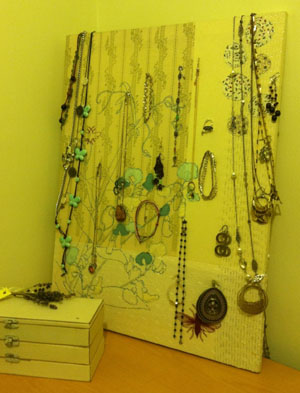
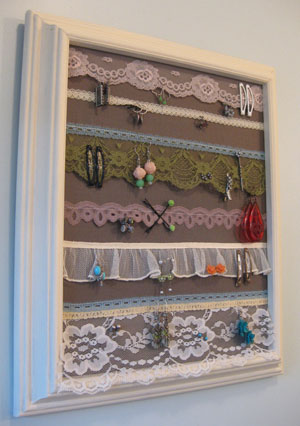
Jewelry holder: green & purple

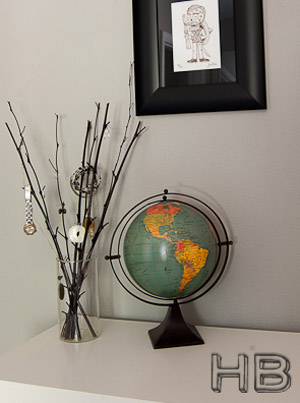
Twigs jewelry stand

Jewelry board - lace

Jewelry board - cork

Jewelry twigs from House Bella

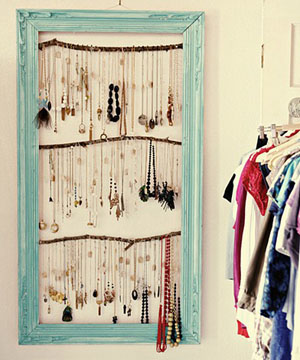
Turquoise jewelry board

My sister's canvas jewelry art

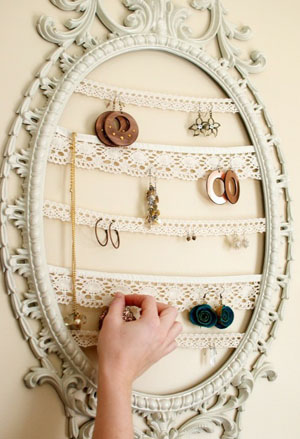
Jewelry holder - frame

Image sources, top to bottom – Coral wooden frame from Style Me Thrifty // Green & purple frame // Twig art // Rows of lace // Cork frames // Twig stand from House Bella (my friend, Sara’s, blog) // Turquoise frame // Canvas art (my sister’s jewelry holder!) // White frame & lace.

———–
You might also like: Thrifty Jewelry Brands
Tips for Cleaning Out Your Closet
Chic Nail Polish Storage Idea
Spaghetti Infinity Scarves

22 Dec

Spaghetti scarves

The very same day I blogged about infinity scarves, my talented coworker Jane showed up to work with a Christmas present for me: a handmade spaghetti infinity scarf! (I tell ya, infinity scarves are on everyone’s brain these days!).

How clever/adorable/fun/genius are these DIY scarves?!

DIY infinity scarf

Jane used old t-shirts (and Pinterest for inspiration!) to create them — she even picked t-shirts with sentimental value: my scarf is made from a 5K race tee that our company sponsored. They’re a fun reminder that DIY gifts can be both chic and thrifty.

Happy holidays!

[Top image: My coworker, Kate, and I (on the left) model Jane’s spaghetti scarves]

————
You might also like: To Infinity… and Beyond!

Easy DIY Holiday Gift Idea

15 Nov

DIY Wedding Invitation Ornament

If you have 45 minutes and a family member that loves a heartfelt gift, this DIY project is for you. Using my sister’s wedding invitation, I whipped up a handmade Christmas ornament for her and her husband (yes, that’s her curled up invitation inside!).

My step-by-step instructions are available over at Cool Green Science, the blog of The Nature Conservancy.

This DIY project is truly thrifty (hellooo $1.25) and so easy peasy that you can do it while watching Dancing with the Stars with a spastic kitten on the loose! Trust me!

See the instructions >>

—————–
You might also like:
DIY Wedding Signs

Style Tips from THE Royal Wedding

Easy Housewarming Party Decorations

26 Sep

How to decore a housewarming partyThe boxes are unpacked. Food is in the fridge. Art is on the walls. This can only mean 1 thing:

It’s time for a housewarming party!

This weekend, the bf and I invited over our lovely friends to make them super jealous of our new townhouse, er, I mean… for a housewarming party! Yay, an excuse to go to Party City!

After wandering the aisles for 30 minutes however, I discovered that Party City sells a ton of pinatas and glow sticks, but no specific housewarming decorations. Time to get crafty… which is actually a blessing in disguise. Why was this thrifty gal going to spend gobs of $$$ on cheapo decorations anyway? DIY decorations are a thriftier and greener option! Here are a few ideas for your own housewarming party:

—–

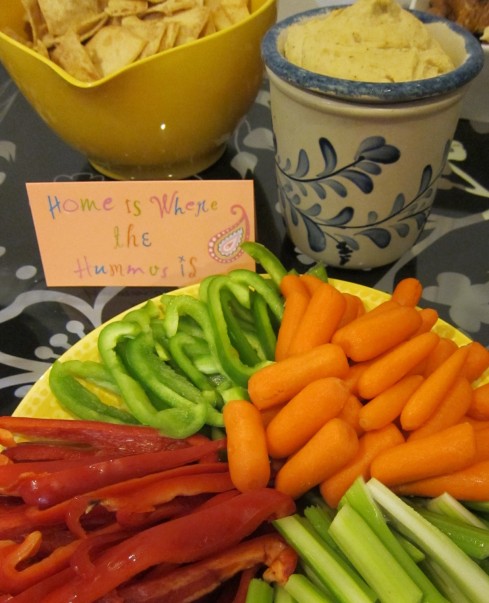
Use Color: Bright, cheerful dishes liven finger food up. Using your own collection of dishes — instead of buying disposable stuff — is def the green way to go.

Style Me Thrifty - party food

Do-It-Yourself Decor: Dig up old scrapbooking or art supplies to make whimsical table tents. Then find a friend (like Erin here) and put her to work!

Style Me Thrifty - DIY housewarming decor

Add a Little Humor: Appetizers are even more delish when they have witty names!

Home Is Where the Hummus Is!

Manly Meatballs!

Stree name + mozerella = yum

Dip Me, Baby

Get Creative: We used the sink in our mudroom as a makeshift cooler. You won’t be wasting energy from opening & closing the fridge all night AND it makes for easy clean up  — just unplug the sink!

Housewarming Party - Style Me Thrifty

Add Guests: Who needs cheesy party decor when you have smiling faces and classy new art to fill the space? Just light some candles, add fresh flowers, and you’re ready to party! [My yellow dress is from Ruche].

With my gals (and my new wall art!)

DIY Wedding Signs

11 Jul

Style Me Thrifty: DIY Wedding Signs

For me, thriftiness isn’t something that is only limited to my fashion decisions. I try really hard to find affordable alternatives whenever I can in life: instead of breaking the bank on a fancy meal, I sit at the bar and order appetizers. Instead on splurging on over-priced furniture, I head straight to Ikea (god bless those Swedes!).

And sometimes my work-arounds come in the form of do-it-yourself projects. It’s amazing how a little elbow grease and determination can save you money. So I’ve decided to start sharing some of my best DIY tricks on Style Me Thrifty. First up: do-it-yourself wedding signs!

DIY Wedding Signs
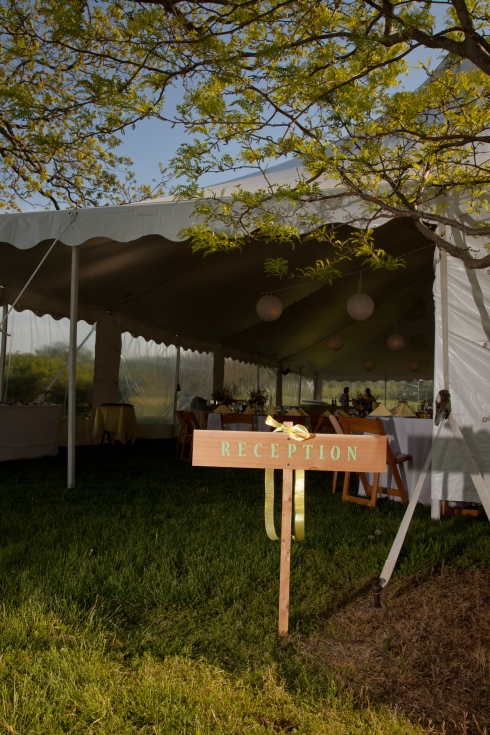
My sister got married in April and her wedding gave me an excuse to start following wedding blogs (how convenient!). One lovely detail I kept seeing in photos were these rustic, directional signs that guided guests to the ceremony, reception, etc. Since my sis was getting married on a farm, wedding signs like these were practically a must, but why would I buy pre-made signs when I could make them myself? So that’s exactly what I did! Here’s how.

DIY Weding Signs: Supplies

Supplies for DIY Wedding Signs:

  • 4 pieces of wood, approximately 3 feet long, 6 inches tall, found at Home Depot or a craft store. It doesn’t matter if the pieces aren’t a perfect match or have rough edges. They’re supposed to be “rustic” looking. Bonus tip: if your boyfriend owns a saw, put him to work.
  • Paint – I used two 2oz. bottles of acrylic paint from Michael’s and that was more than enough
  • Stencils (they make an amateur artist’s life easier) and a stencil brush
  • Tape to hold stencils in place
  • Ruler
  • Nails for mounting the signs to trees OR 4 stakes (about 4 feet tall) to hammer the signs into the ground

DIY Weding Signs: Steps

Steps to Make the Signs:

  • Cut out each letter from the stencil sheet. Using a ruler, find the midpoint of the wood. Now line up your letters so that they’re nice and centered (and spelled correctly!).
  • Tape each stencil to the wood to prevent it from moving. Using a stippling motion, paint in the stencil, making sure you’re putting down enough paint to make the color really vivid.
  • Carefully peel off the stencil and continue until you’ve spelled your word. Viola! That’s it!

DIY Wedding Signs: Reception & Cocktails


DIY Wedding Signs


Style Me Thrifty wedding signs