Tag Archives: wedding

Winter Wedding Outfit

19 Nov

Reader Question: I’m attending a wedding this month in Chicago. What the heck does one wear to a winter wedding?!

Style Me Thrifty: Winter weddings can be romantic, cozy, and well, freezing cold. Here are a few easy tips keep in mind when putting together a winter-friendly outfit for a wedding.

  • Pick a dress in a rich color like burgundy, eggplant, or peacock blue. These colors are great for cold months and look lovely with non-tanned skin.
  • Stay warm in your cocktail dress by adding tights. I especially love textured tights – they add personality!
  • When in doubt, a little black dress is a solid choice but spice it up with colorful heels or jewelry.
  • Pack layers — a pashmina for when you’re indoors and peacoat and gloves for the trip home.

Sidenote: I’ve started using Polyvore, an interactive site that let’s you assemble outfits and links directly to the retailers that sell the items. I’m still learning the ropes (which is why some of you got an email saying the outfit was posted, oops!) but I think it’ll be fun. Let me know what you think.

Winter Wedding Outfit

Dot tight
$8.99 – kohls.com

Forever21 fringe earrings
$4.76 – forever21.com

Forever21 bracelet set
$6.80 – forever21.com

eShakti – Dressed in Pink
$100 – eshakti.com

Easy DIY Holiday Gift Idea

15 Nov

DIY Wedding Invitation Ornament

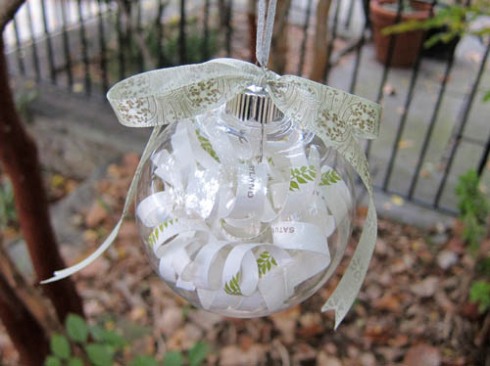
If you have 45 minutes and a family member that loves a heartfelt gift, this DIY project is for you. Using my sister’s wedding invitation, I whipped up a handmade Christmas ornament for her and her husband (yes, that’s her curled up invitation inside!).

My step-by-step instructions are available over at Cool Green Science, the blog of The Nature Conservancy.

This DIY project is truly thrifty (hellooo $1.25) and so easy peasy that you can do it while watching Dancing with the Stars with a spastic kitten on the loose! Trust me!

See the instructions >>

—————–
You might also like:
DIY Wedding Signs

Style Tips from THE Royal Wedding

Instantly Look Skinnier

3 Oct

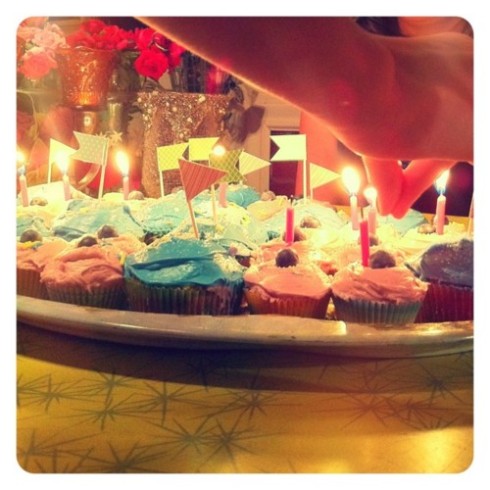
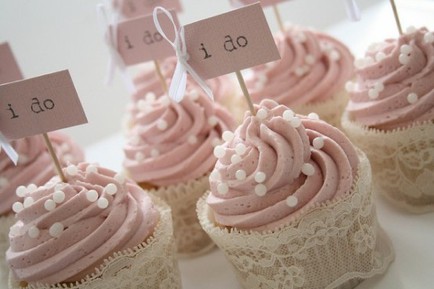
Bridal shower cupcakes. From Pinterest.

Reader Question: I adore your blog —  its like a little treasure I stumbled upon! I have a question! I’m going to a bridal shower and want to look fabulous and skinny because I haven’t seen these girls since high school. Do you have any tips for how to make your self look thinner?

Style Me Thrifty: I get it. The idea of seeing old friends (maybe even frenimies?) from high school can be a little intimidating. Do I still look like that fresh-faced 18 year old teenager that will forever be stuck in their heads? Not a chance!

But can I still wow them with how fab I look as a happy, polished, and confident 29 year old? Heckya!

Maybe you’ve put on a few extra lbs. I call that gravity. You’ve also acquired a crap load of confidence in your post high school years. I want THAT self assured woman to attend this bridal shower. Now all you need are Style Me Thrifty’s top 5 tricks for hiding the imperfections!

—–

  1. Show off your best body parts
    Love your arms? Go sleeveless. Legs? Wear a skirt and
    nude pumps to elongate your legs. Remember, a bridal shower only lasts 3 hours or so. Don’t waste time by wearing something that doesn’t put your best assets on display.
  2. Cinch and conceal!
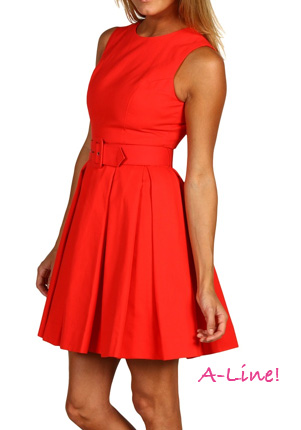
    I love a girly dress at a bridal shower. Pick a universally flattering A-line shaped dress that is fitted at the waist, flares out over the hips, and hits right above the knee. Try adding a belt to accentuate your tiny waist even more.
  3. Make friends with patterns
    Opt for a printed fabric to disguise any lumps. Patterns work like camouflage! And let’s face it, sometimes bridal showers can be a little like war. Take no prisoners, rock a pattern.
  4. Get a spray tan
    Desperate times call for desperate measures. A healthy glow makes the body seem more toned. I like Mystic but Versa is good, too.
  5. Work photos like a supermodel
    Here are 2 tricks for taking flattering photos: (1) minimize hips by not standing exactly straight towards the camera and (2) put your hand your hip so your upper arm isn’t smushed against your body. When your HS friends look back at these shower photos, they’ll reminisce about how thin you looked!

If you’re embarking on a last minute shopathon, here are two dresses that meet my approval.
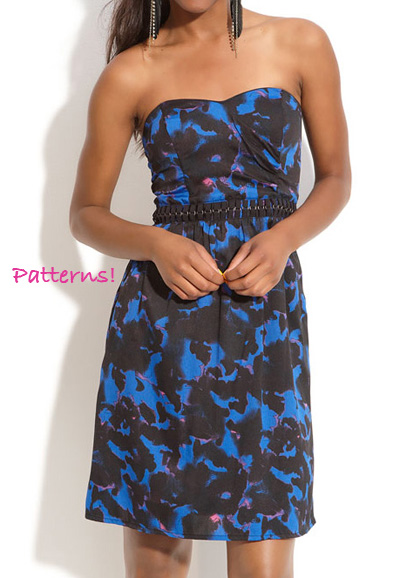
Nordstrom Fire Hardware Strapless Dress - $46

BB Dakota Audri Dress - $100
(Above: Fire Hardware Detailed Strapless Dress – $46 at Nordstrom. Below: BB Dakota Audri Dress – $100 at Zappos)

————–
You might also like: Top 10 Tips for Looking Fab at Bridal Shower

Happy Half Birthday to Style Me Thrifty!

1 Sep

Happy half birthday! From: http://pinterest.com/pin/147113150/
I looked at the calendar today and realized, whoa, it’s already September. That means Style Me Thrifty has been part of the blogging world for exactly 6 months. When did that happen? They grow up so fast!

Cheers to half a year of blogging!

It’s been an awesome blur of late-night writing, wacky blog post brainstorming sessions, handing out hot pink business cards and receiving wonderful feedback from my readers (thank you!).

In honor of this mini-milestone, I’d like to share SMT’s 6 most popular posts from the past 6 months, in case you’ve missed any.

Please post/email/Facebook me your style questions!

—–

Top 6 Posts from the Past 6 Months:

  1. Introducing… the Spin Pin! – I should have bought stock in Goody’s Spin Pin. This product is awesome and you girls clearly thought so, too, making this my #1 most visited post! Since writing this, I’ve discovered Mini Spin Pins, so be sure to check those out if you have finer hair.
    Goody Spin Pin - Style Me Thrifty
  2. What to Wear to a Spring (or Summer) Wedding – One of the best parts about blogging is seeing my friends wearing something that I recommended. Check out Amy below, in that adorable BCBGeneration ruffled dress that I suggested in this post. Flawless, Amy!Spring wedding - Style Me Thrifty
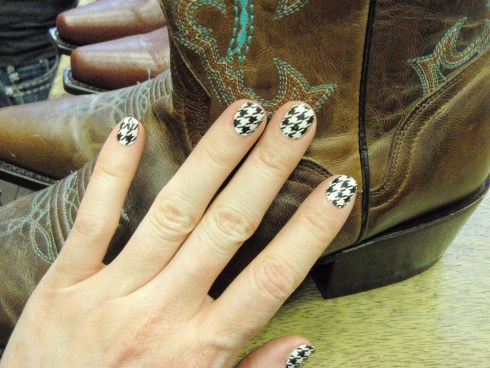
  3. Nail Stickers?! – The lady at Quiznos asked me about my nail stickers the other day. These things sure turn heads! Have you all tried them yet? I went with the “Check it Out” pattern this past weekend for my trip to Nashville. So fun! (but I’m finding that they grow out within 6 days or so).Sally Hanson Nail Effects in "Check It Out"
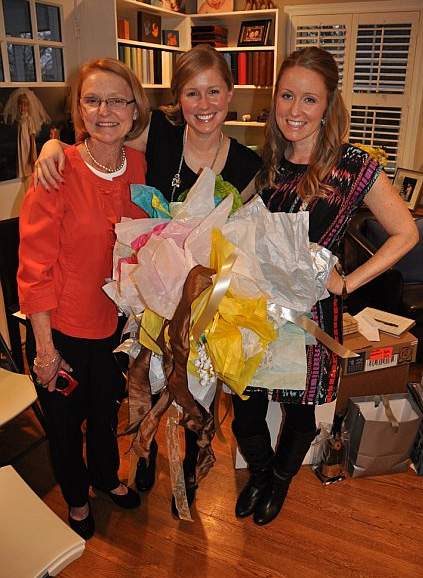
  4. Top 10 Tips for Looking Fab at a Bridal Shower – Styling my sister for her own bridal shower was the catalyst for starting this blog. This was one of my first posts so I have a soft spot in my heart for it. (And for my adorable sis and mom!)
    What to Wear to a Bridal Shower - Style Me Thrifty
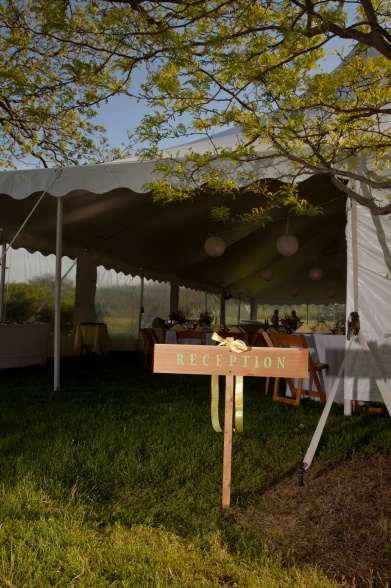
  5. DIY Wedding Signs – I’ve gotten a TON of visitors via keyword searches for “wedding signs.” I can tell this is a popular decoration at weddings right now!
    DIY Wedding Signs - Style Me Thrifty
  6. Reader Poll: Thoughts on Backless Shirts? – 47% of you voted in the poll and said backless shirts, like Bachelorette Ashley’s, are super cute and you’d totally bring sexy back. Rock it, girls!
    Going Backless - Style Me Thrifty

DIY Wedding Signs

11 Jul

Style Me Thrifty: DIY Wedding Signs

For me, thriftiness isn’t something that is only limited to my fashion decisions. I try really hard to find affordable alternatives whenever I can in life: instead of breaking the bank on a fancy meal, I sit at the bar and order appetizers. Instead on splurging on over-priced furniture, I head straight to Ikea (god bless those Swedes!).

And sometimes my work-arounds come in the form of do-it-yourself projects. It’s amazing how a little elbow grease and determination can save you money. So I’ve decided to start sharing some of my best DIY tricks on Style Me Thrifty. First up: do-it-yourself wedding signs!

DIY Wedding Signs
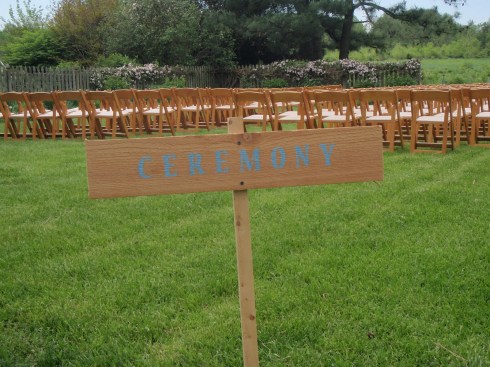
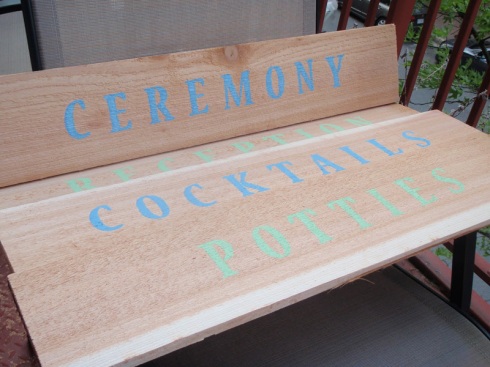
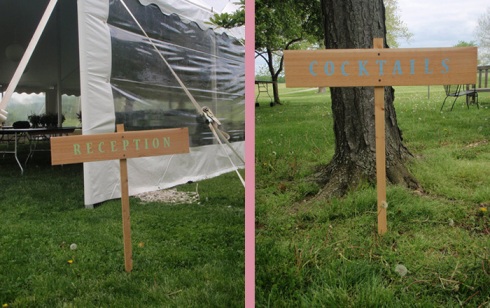
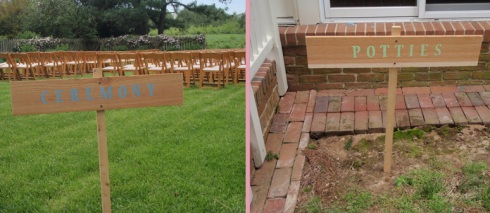
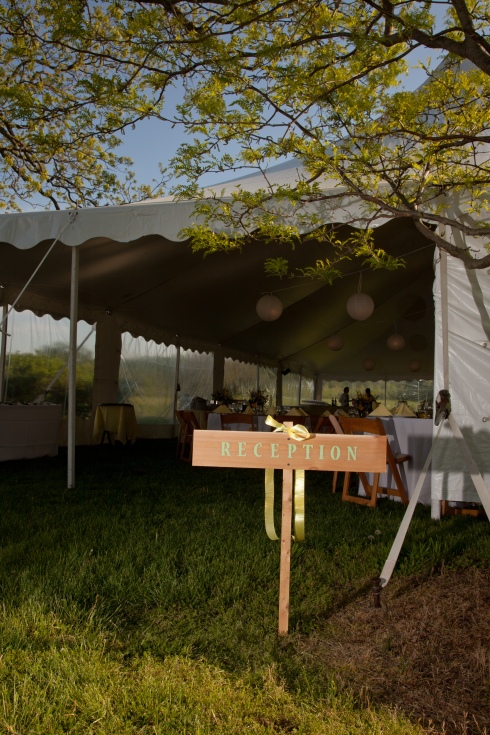
My sister got married in April and her wedding gave me an excuse to start following wedding blogs (how convenient!). One lovely detail I kept seeing in photos were these rustic, directional signs that guided guests to the ceremony, reception, etc. Since my sis was getting married on a farm, wedding signs like these were practically a must, but why would I buy pre-made signs when I could make them myself? So that’s exactly what I did! Here’s how.

DIY Weding Signs: Supplies

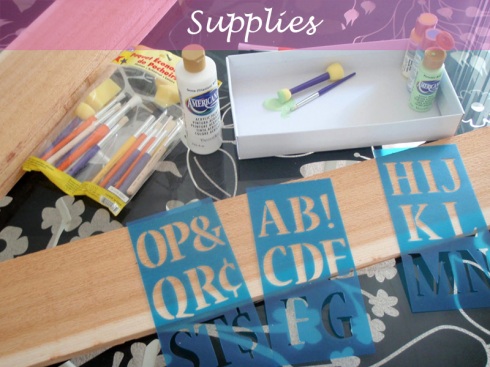
Supplies for DIY Wedding Signs:

  • 4 pieces of wood, approximately 3 feet long, 6 inches tall, found at Home Depot or a craft store. It doesn’t matter if the pieces aren’t a perfect match or have rough edges. They’re supposed to be “rustic” looking. Bonus tip: if your boyfriend owns a saw, put him to work.
  • Paint – I used two 2oz. bottles of acrylic paint from Michael’s and that was more than enough
  • Stencils (they make an amateur artist’s life easier) and a stencil brush
  • Tape to hold stencils in place
  • Ruler
  • Nails for mounting the signs to trees OR 4 stakes (about 4 feet tall) to hammer the signs into the ground

DIY Weding Signs: Steps

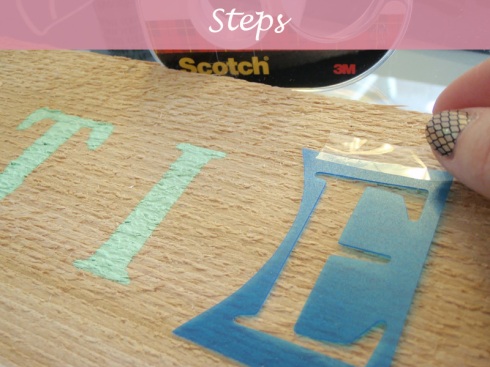
Steps to Make the Signs:

  • Cut out each letter from the stencil sheet. Using a ruler, find the midpoint of the wood. Now line up your letters so that they’re nice and centered (and spelled correctly!).
  • Tape each stencil to the wood to prevent it from moving. Using a stippling motion, paint in the stencil, making sure you’re putting down enough paint to make the color really vivid.
  • Carefully peel off the stencil and continue until you’ve spelled your word. Viola! That’s it!

DIY Wedding Signs: Reception & Cocktails


DIY Wedding Signs


Style Me Thrifty wedding signs