Tag Archives: wedding signs

Happy Half Birthday to Style Me Thrifty!

1 Sep

Happy half birthday! From: http://pinterest.com/pin/147113150/
I looked at the calendar today and realized, whoa, it’s already September. That means Style Me Thrifty has been part of the blogging world for exactly 6 months. When did that happen? They grow up so fast!

Cheers to half a year of blogging!

It’s been an awesome blur of late-night writing, wacky blog post brainstorming sessions, handing out hot pink business cards and receiving wonderful feedback from my readers (thank you!).

In honor of this mini-milestone, I’d like to share SMT’s 6 most popular posts from the past 6 months, in case you’ve missed any.

Please post/email/Facebook me your style questions!

—–

Top 6 Posts from the Past 6 Months:

  1. Introducing… the Spin Pin! – I should have bought stock in Goody’s Spin Pin. This product is awesome and you girls clearly thought so, too, making this my #1 most visited post! Since writing this, I’ve discovered Mini Spin Pins, so be sure to check those out if you have finer hair.
    Goody Spin Pin - Style Me Thrifty
  2. What to Wear to a Spring (or Summer) Wedding – One of the best parts about blogging is seeing my friends wearing something that I recommended. Check out Amy below, in that adorable BCBGeneration ruffled dress that I suggested in this post. Flawless, Amy!Spring wedding - Style Me Thrifty
  3. Nail Stickers?! – The lady at Quiznos asked me about my nail stickers the other day. These things sure turn heads! Have you all tried them yet? I went with the “Check it Out” pattern this past weekend for my trip to Nashville. So fun! (but I’m finding that they grow out within 6 days or so).Sally Hanson Nail Effects in "Check It Out"
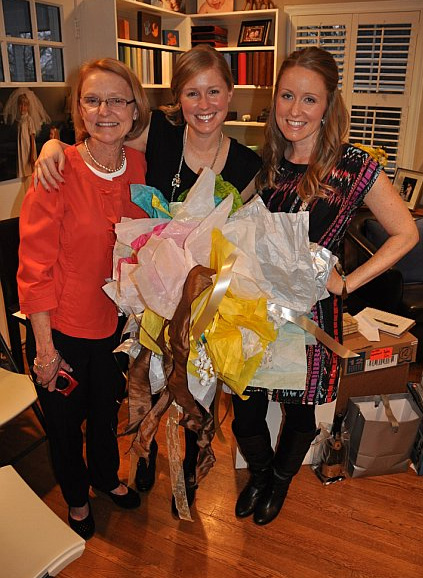
  4. Top 10 Tips for Looking Fab at a Bridal Shower – Styling my sister for her own bridal shower was the catalyst for starting this blog. This was one of my first posts so I have a soft spot in my heart for it. (And for my adorable sis and mom!)
    What to Wear to a Bridal Shower - Style Me Thrifty
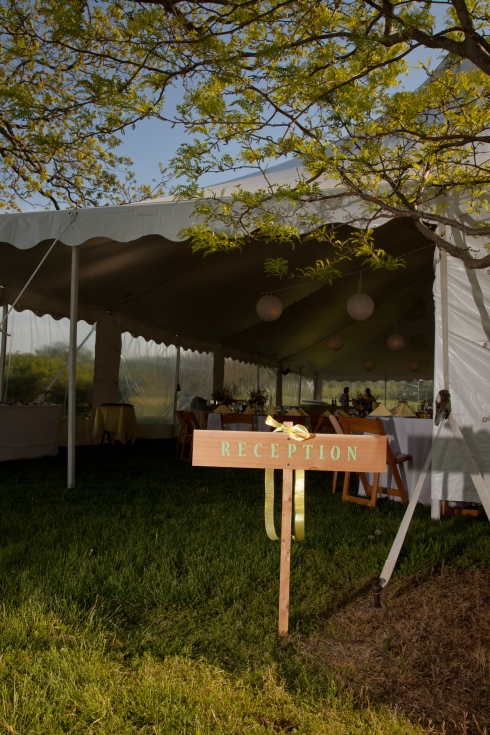
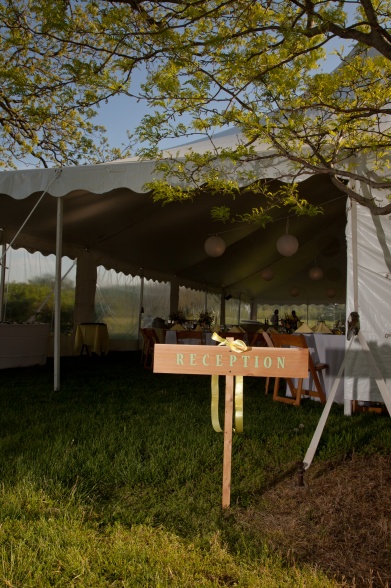
  5. DIY Wedding Signs – I’ve gotten a TON of visitors via keyword searches for “wedding signs.” I can tell this is a popular decoration at weddings right now!
    DIY Wedding Signs - Style Me Thrifty
  6. Reader Poll: Thoughts on Backless Shirts? – 47% of you voted in the poll and said backless shirts, like Bachelorette Ashley’s, are super cute and you’d totally bring sexy back. Rock it, girls!
    Going Backless - Style Me Thrifty

DIY Wedding Signs

11 Jul

Style Me Thrifty: DIY Wedding Signs

For me, thriftiness isn’t something that is only limited to my fashion decisions. I try really hard to find affordable alternatives whenever I can in life: instead of breaking the bank on a fancy meal, I sit at the bar and order appetizers. Instead on splurging on over-priced furniture, I head straight to Ikea (god bless those Swedes!).

And sometimes my work-arounds come in the form of do-it-yourself projects. It’s amazing how a little elbow grease and determination can save you money. So I’ve decided to start sharing some of my best DIY tricks on Style Me Thrifty. First up: do-it-yourself wedding signs!

DIY Wedding Signs
My sister got married in April and her wedding gave me an excuse to start following wedding blogs (how convenient!). One lovely detail I kept seeing in photos were these rustic, directional signs that guided guests to the ceremony, reception, etc. Since my sis was getting married on a farm, wedding signs like these were practically a must, but why would I buy pre-made signs when I could make them myself? So that’s exactly what I did! Here’s how.

DIY Weding Signs: Supplies

Supplies for DIY Wedding Signs:

  • 4 pieces of wood, approximately 3 feet long, 6 inches tall, found at Home Depot or a craft store. It doesn’t matter if the pieces aren’t a perfect match or have rough edges. They’re supposed to be “rustic” looking. Bonus tip: if your boyfriend owns a saw, put him to work.
  • Paint – I used two 2oz. bottles of acrylic paint from Michael’s and that was more than enough
  • Stencils (they make an amateur artist’s life easier) and a stencil brush
  • Tape to hold stencils in place
  • Ruler
  • Nails for mounting the signs to trees OR 4 stakes (about 4 feet tall) to hammer the signs into the ground

DIY Weding Signs: Steps

Steps to Make the Signs:

  • Cut out each letter from the stencil sheet. Using a ruler, find the midpoint of the wood. Now line up your letters so that they’re nice and centered (and spelled correctly!).
  • Tape each stencil to the wood to prevent it from moving. Using a stippling motion, paint in the stencil, making sure you’re putting down enough paint to make the color really vivid.
  • Carefully peel off the stencil and continue until you’ve spelled your word. Viola! That’s it!

DIY Wedding Signs: Reception & Cocktails


DIY Wedding Signs


Style Me Thrifty wedding signs